HostGator is a great hosting company for new bloggers because it’s the least expensive blog host and also easy to use even if you’re not that techy.
In this tutorial I’ll explain how to install WordPress and start a blog on HostGator – don’t worry, it’s fast and easy!
Steps To Start A WordPress Blog On HostGator
You can easily follow along with these steps!
Just click the button below to start creating your blog on HostGator – it’ll open in a new tab.Start A Blog On HostGator
After you click the link, you should see a page that looks something like this:
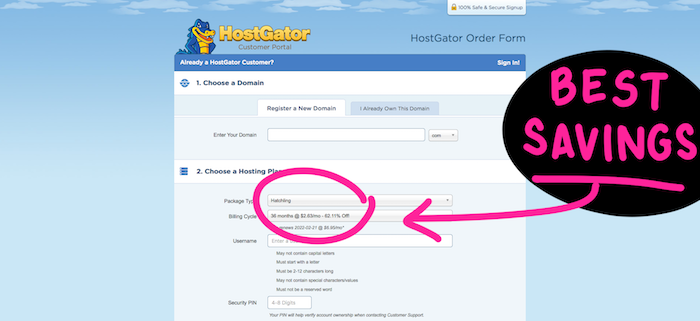
I have highlighted the price box so you can see what an amazing savings you get via my link!
Steps To Start Your Blog On HostGator
Step 1: Register Your Domain Name & Buy Hosting
The first thing we’ll be doing is registering a domain name. If you already have a domain name registered, just click the tab that says “I Already Own This Domain.”
Type your domain name into the box that says “Enter Your Domain.”
If the domain name you want is available, it’ll show a green checkmark and say “Added.”
As you continue with the checkout, it’ll ask you to create a Username and Security PIN. You should write these down somewhere safe so you remember them later.
Once you have completed your purchase, you’re ready to move on to step #2.
Step 2: Setting Up WordPress On Your HostGator Blog
After purchasing a domain and hosting plan, you should check your email.
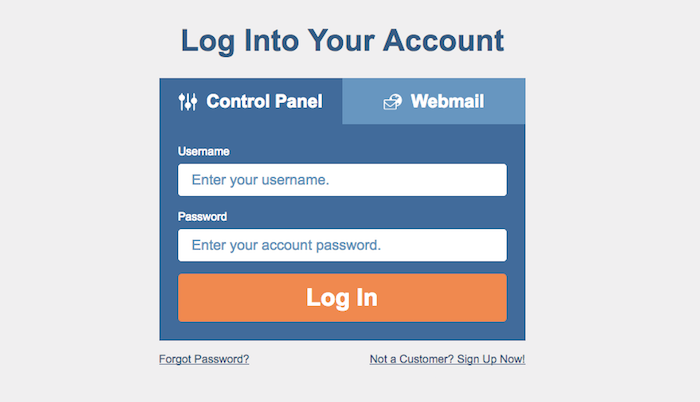
There will be an important email that contains your account info for HostGator’s cPanel (short for Control Panel).
Click the link where it says “Your Control Panel.” It’ll take you to a login page like this:
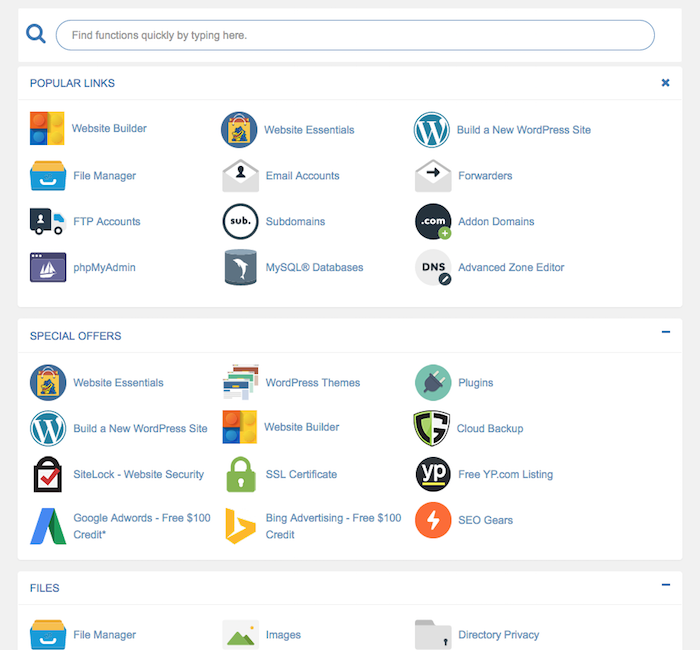
After logging in with the username and password contained in your email, you’ll see a screen like this:
If you bought your domain elsewhere, you’ll need to point it at HostGator’s servers before you can move forward. (Click here to skip ahead if you registered your domain name with HostGator)
To do that, open up a new tab. Then login to the site where you purchased your domain and go to the nameserver settings for it.
Copy and paste the primary & secondary nameservers from the HostGator cPanel. Then paste them into the nameserver boxes on the site you purchased your domain from.
Next, go to the DNS settins on the site where your bought your domain.
There should be a table of DNS records like A, MX, and CNAME.
If there’s already an IP address in the lines for the A records, you need to change this to your HostGator IP address.
You can find your HostGator IP address in the right-hand column of the cPanel page where it says “Site IP” under “GENERAL INFORMATION.”
If you have any questions about this part, it’s best to reach out to customers service with the site you bought your hosting from. They’ll be able to provide you with the right solution for your specific situation.
Installing A WordPress Blog on HostGator
To install WordPress on your website, click the “Build a New WordPress Site” link on your HostGator cPanel. It has a blue icon with a “W” next to it.
It takes you to this page:
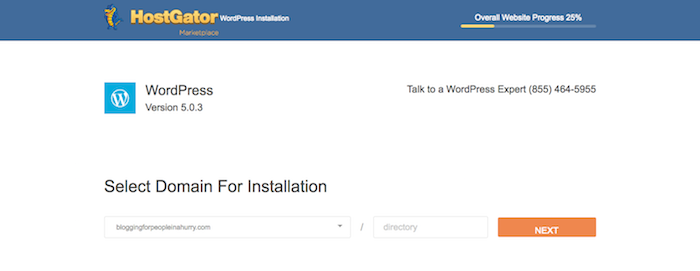
Here, simply select the domain you want to install WordPress on and click the orange “NEXT” button.
On the next screen you’ll be able to enter your blog title, and create your blog login name and password. Be sure that your email is typed in correctly on this page!
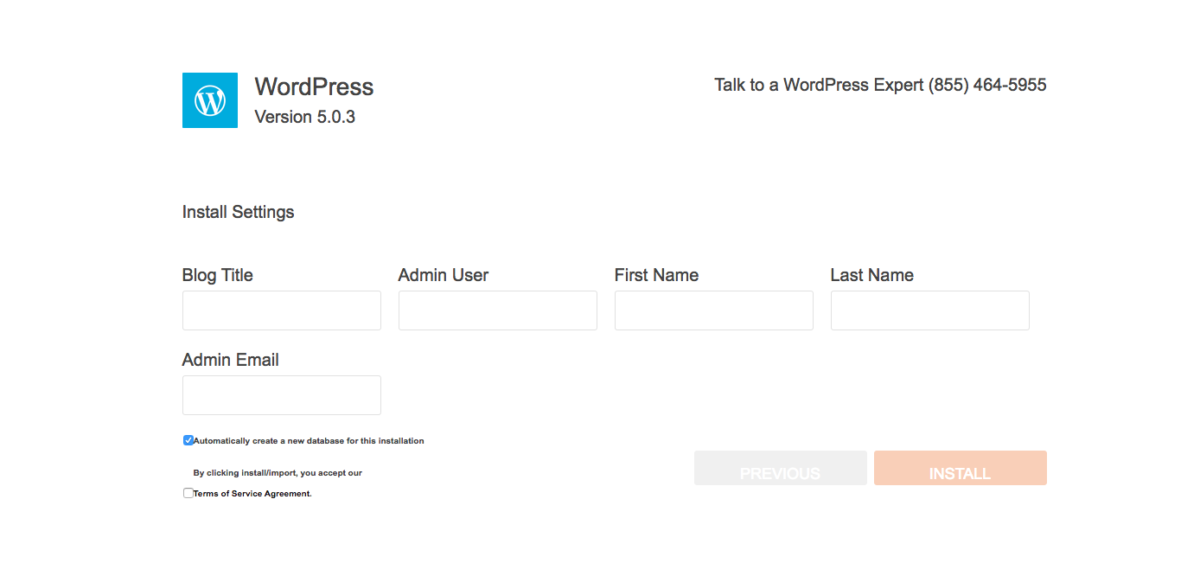
It’s always a good idea to write down your login info on a piece of paper just in case you forget.
After clicking “INSTALL,” HostGator will install WordPress on your site, and you’ll get an email that tells you how to login to your new blog.
Once you log in to your new blog, change the password to something you can easily remember!
Congratulations on setting up your new WordPress blog on HostGator!
I hope you were able to make it all the way through this guide without too much trouble.
Let me know if it was helpful!